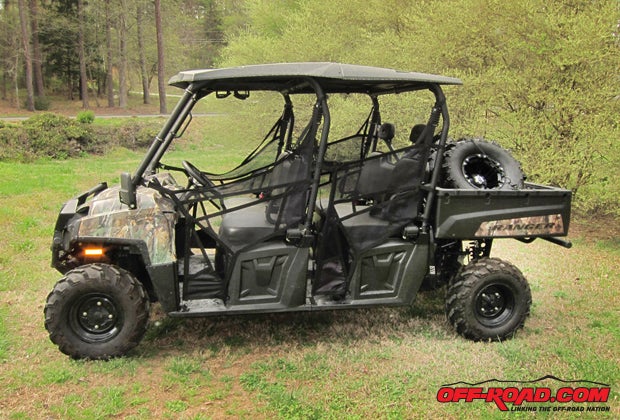
There is one thing that can give you extra ground clearance to get over the taller obstacles in the trails, and it will also give you extra height for the deeper mud as well. This one thing is a lift kit.
There are a number of common lifts that offer about two inches in additional height and are simple to install. Our 2013 Polaris Ranger that is used to haul hunters into and out of the rough country needed some additional clearance for the trails. Looking for an inexpensive option that wouldn’t break the bank, we turned to Extreme Metal Products and found this super simple lift kit in its eBay store.
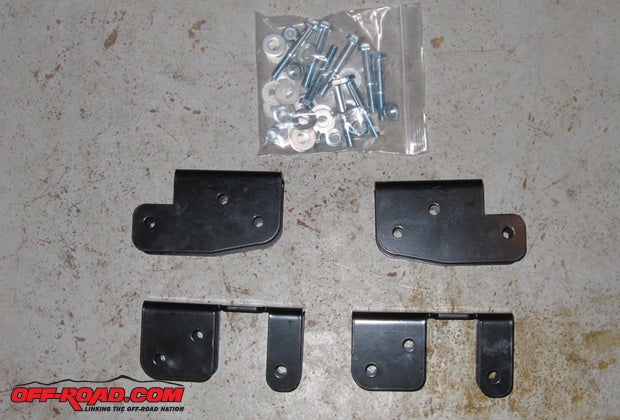
The Extreme Metal Products kit is made of high-strength steel and comes with all the necessary hardware for proper installation. In just about one hour we had an additional two inches of clearance on our Ranger, so follow along to see just how easy the installation is.
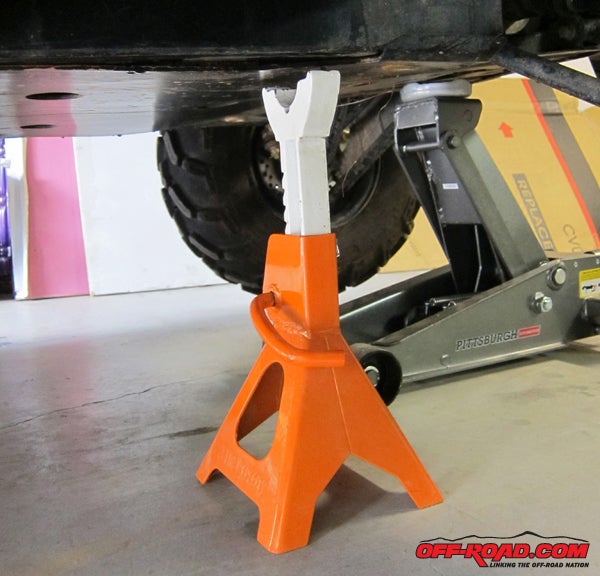
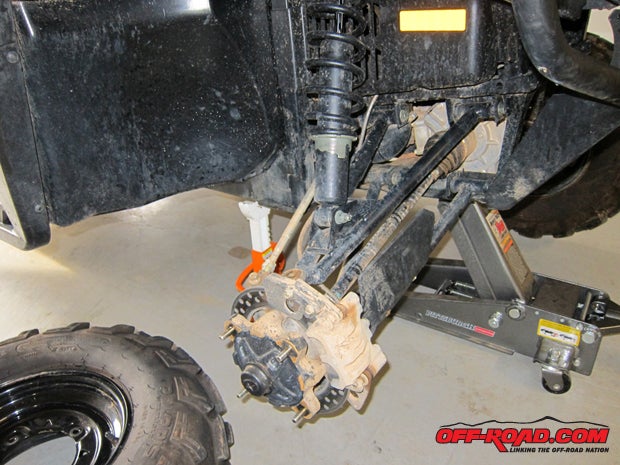
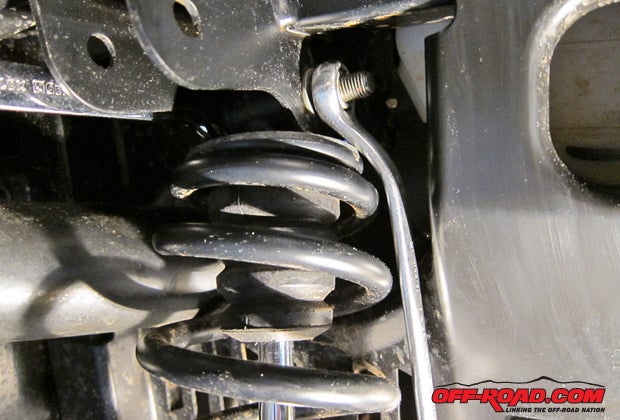
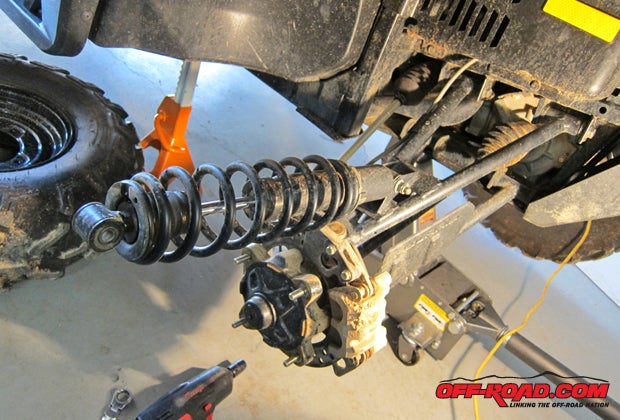
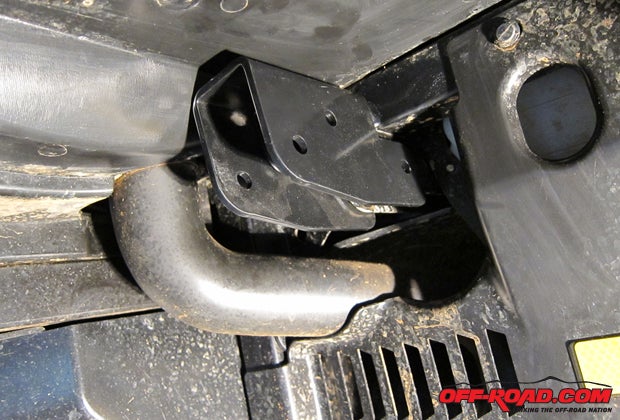
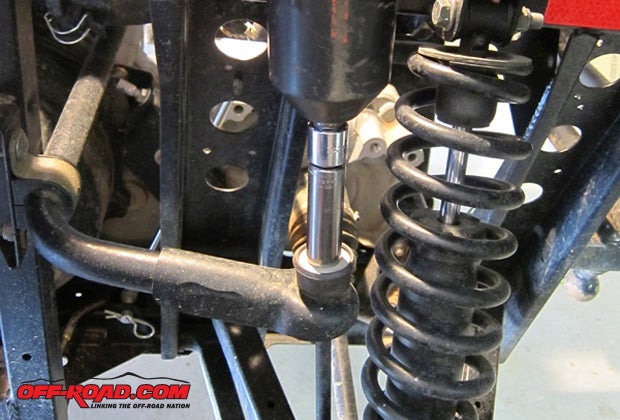
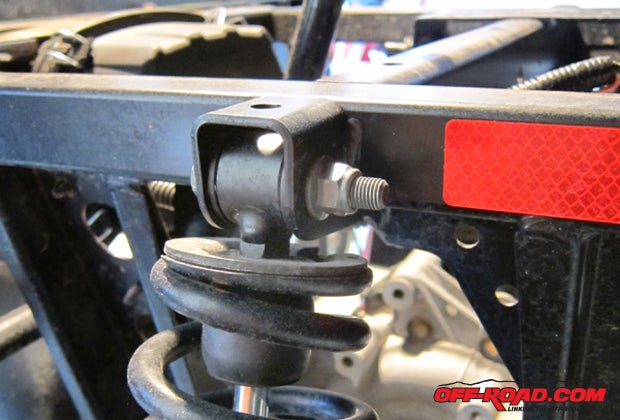
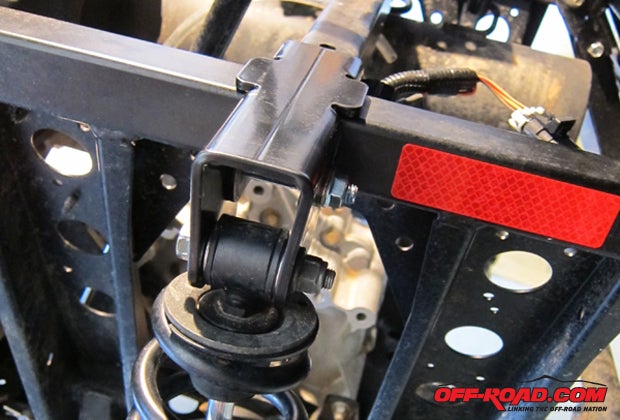
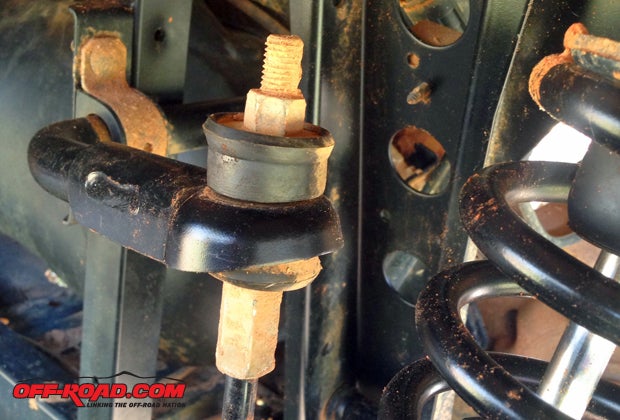
As we said, it’s a pretty straightforward installation. The lift is now complete and ready to ride. Be sure to recheck the bolts that were loosened or added to the machine after the first ride. The lift will allow the Ranger Crew to accept 27- to 28-inch tires, which would ultimately create even more height and ground clearance.
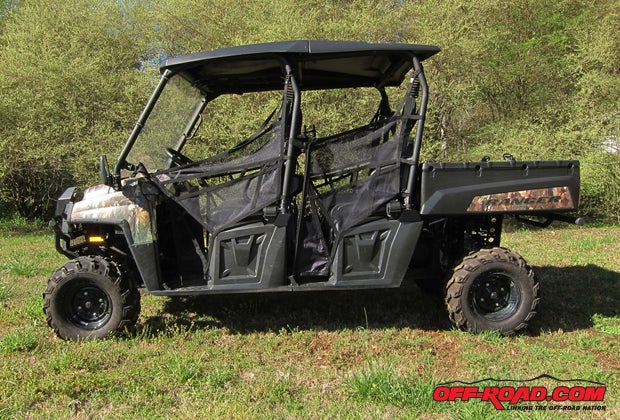
As with any aftermarket upgrade, this is changing the original state of the vehicle and can cause some undue stress to the factory. Raising a machine will at times put the CV axles of said vehicle into extreme angles and in the right condition can wear or even break those parts prematurely. Be sure to consider the higher center of gravity as well when first driving the upgraded vehicle, as off-camber trails can be a little tricky. This is not meant to scare you but to just make you aware that there are things to take into consideration. High-angle axles can be purchased to give the extra length and aid with proper geometry for lifted vehicle. Do some research before installing this or any lift. We’ll be adding high-angle Gorilla Axles to our ride and will feature install soon right here on Off-Road.com.
Contact
Extreme Metal Products
216-267-3900
http://www.extrememetalproducts.com/


 Your Privacy Choices