1978 Yamaha YZ250 Project Lowbucks, Part 4

Aug. 07, 2014 By Rick Sieman
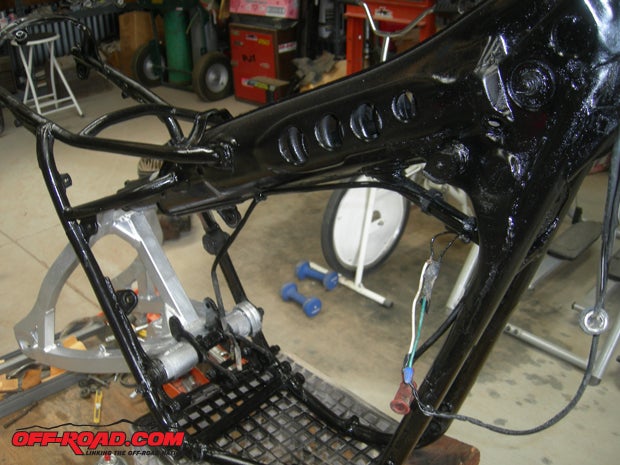
Painted and ready for some serious work, our 1978 Yamaha YZ250 is poised on the workbench.

In part three of our third Project Lowbucks installation, we cleaned up what must have been the filthiest dirt bike ever and gave it a good paint job. Now it’s time to clean up and prep the major components on the bike. And in the process, we found out one of the reasons the bike was so filthy. Follow along and learn.

Previous Project Lowbucks 3 Stories
Part 3: Strip Down, Cleaning and Paint

Project Lowbucks: Taking Inventory
Part 1: 1978 Yamaha YZ250E

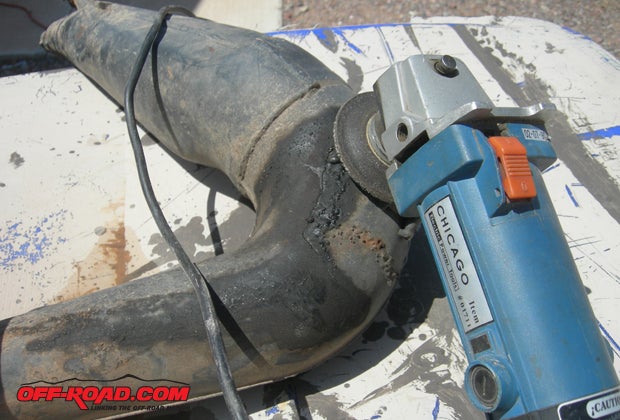
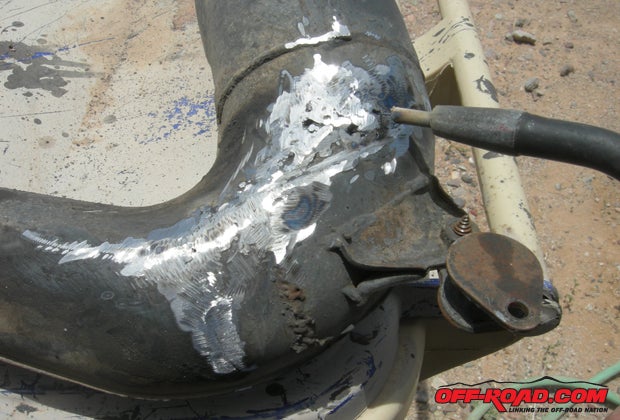
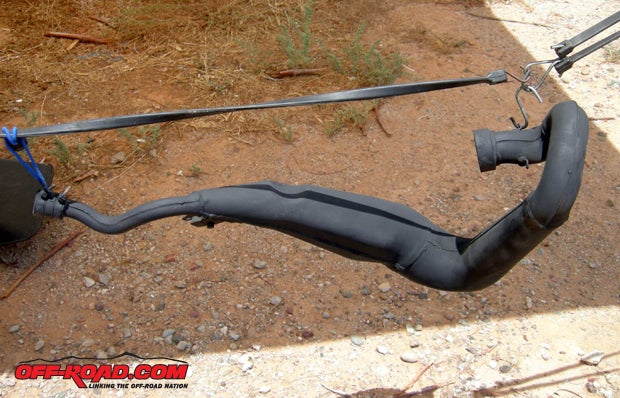
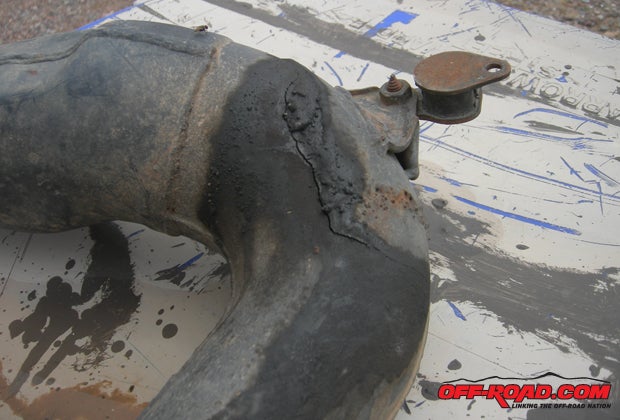
Whoops! When we got ready to clean up the exhaust pipe, a large crack was found in the area that goes next to the frame. This would explain why so much hardened crud was on the frame tubes. Apparently the exhaust would come out of the crack and deposit hot oil and gas all over the place.

A grinding wheel was used to remove most of the excess left from the previous really terrible welder.

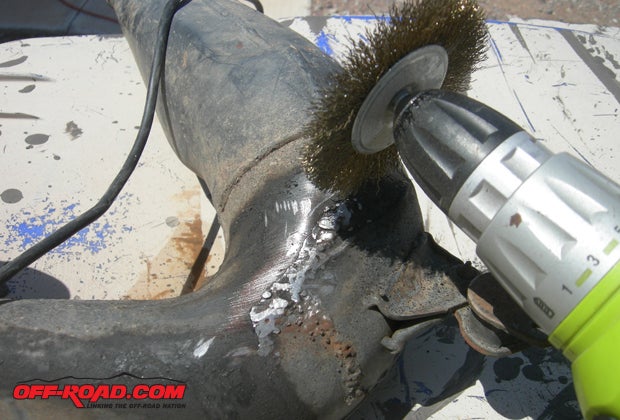
We had to resort to a wire wheel to get down deep in the correct area.

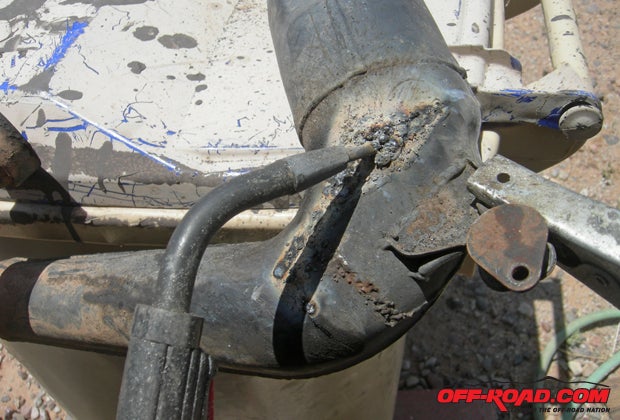
A MIG welder was used to join the cracks.

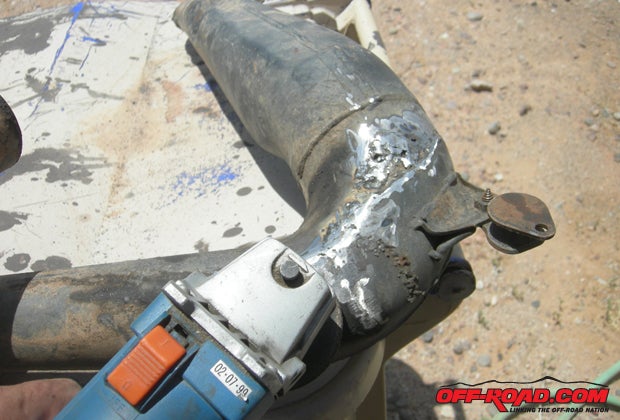
The welder was used liberally and the grinding wheel did plenty of work between the welds.

We kept burning holes in the thin metal. It didn’t help us any with the fact that there was a whole lot of crud on the inside of the pipe.

After the welding was complete, we applied a coat of flat black paint to the exhaust pipe.

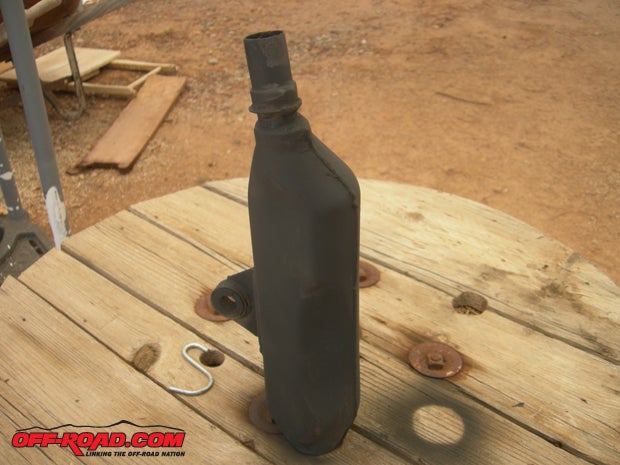
The muffler got cleaned and also got  another coat of flat black paint.

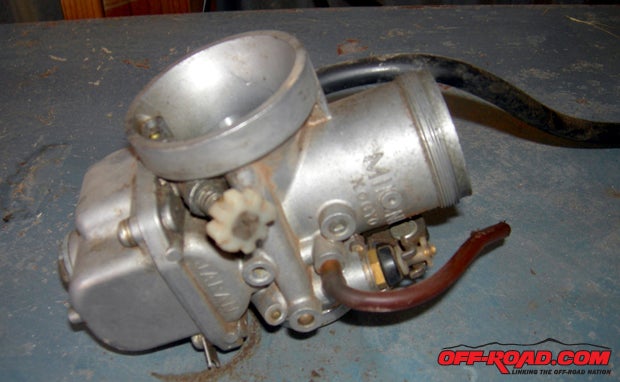
The carb was ready for cleaning at this point.

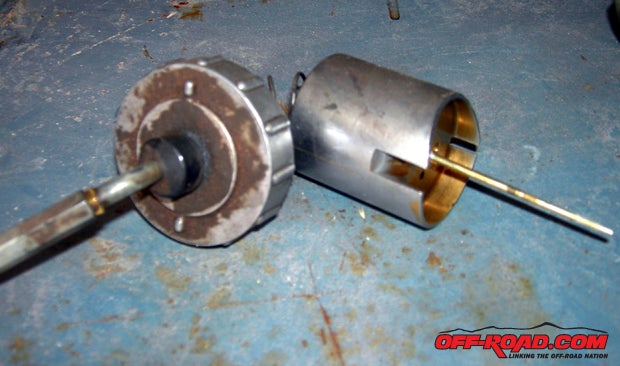
Lots of dirt was evident on the slide and the screw cap of the carburetor.

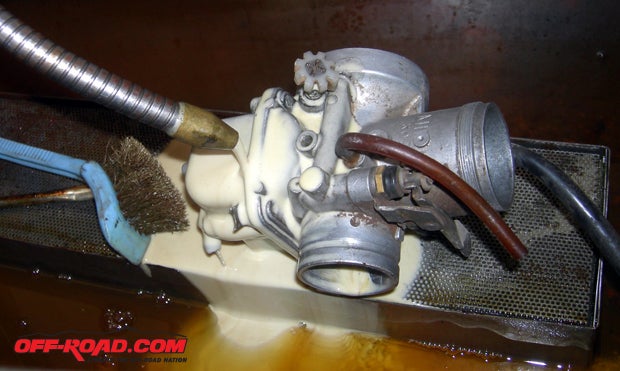
Quite a bit of time was spent in the parts cleaner getting most of the crud off the carburetor.

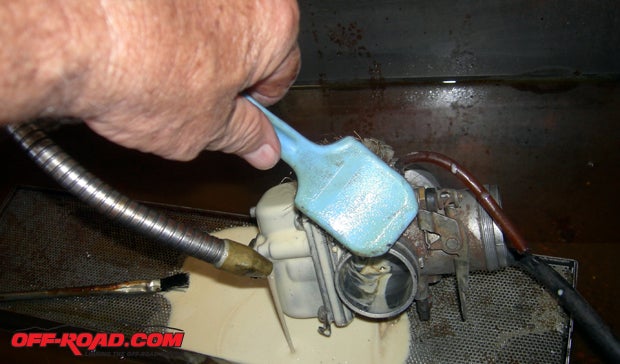
We still had to resort to a stiff bristled brush to get the baked on stuff off.

Next Page... Project Lowbucks: 1978 Yamaha YZ250


Off-Road.com Newsletter
Join our Weekly Newsletter to get the latest off-road news, reviews, events, and alerts!