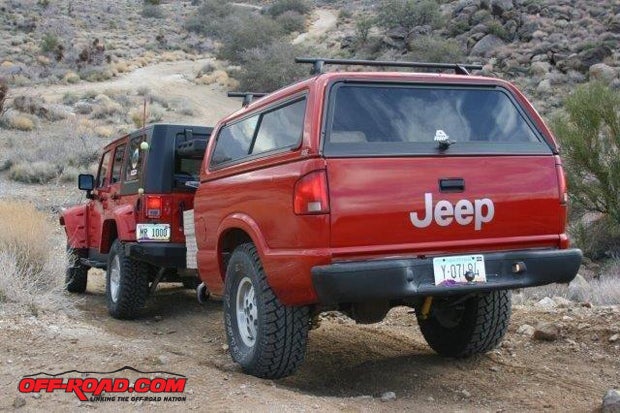
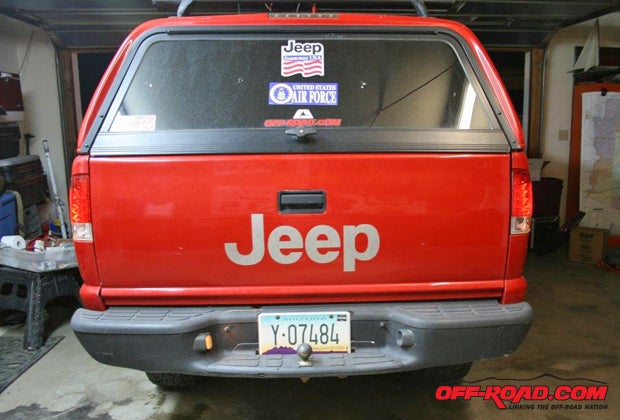
During a New Mexico vacation and a Mojave Road crossing it became clear our budget trailer needed some upgrades – and it needed them badly. After all, who wants egg shells in their scrambled eggs, or even scrambled eggs for that matter? The trailer needed shocks and more height, as the curved design of the original pickup’s rear bumper dug up the trail, causing way more dust than necessary, and it actually scooped up water and forced it up in a 4-foot-wide geyser to drown the tailgate and soak anything stored in the trailer near the tailgate. More stability on the trails and a higher bumper height would take care of both problems.
Author’s note: While reading this article, please remember that all these suspension modifications are available for S10 pickups—and their GMC Sonoma brethren—with the same part numbers. The same modifications can also be applied to Jeeps, other compact pickup brands and full-size trucks by using different part numbers. All the components are available at Summit Racing.
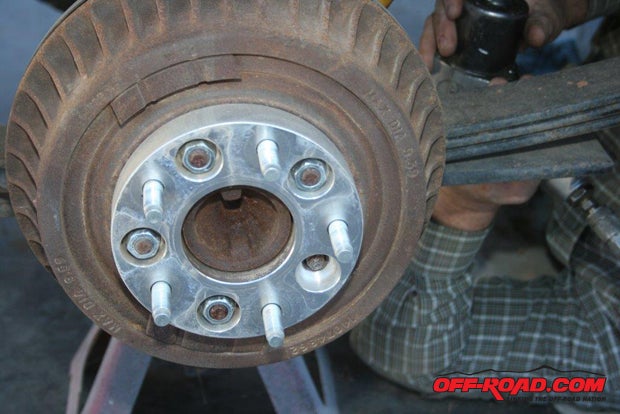
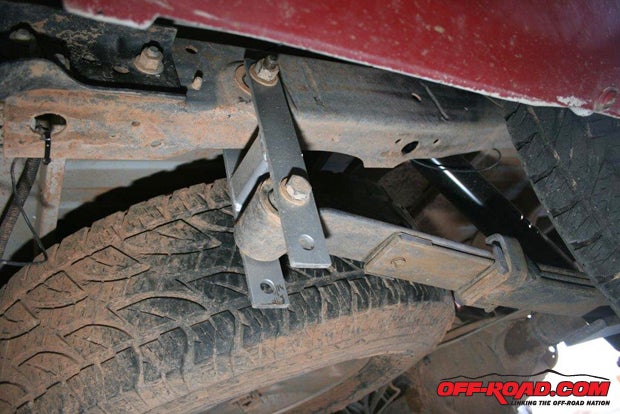
The first thing I addressed was the height. By adding 10-inch shackles with holes drilled at 6 inches and 8 inches—I used the 6-inch holes—the trailer was lifted 4 inches (using the 8-inch holes would result in a 6-inch lift but could prove to be unstable due to the length of the shackles). This was by far the easiest modification. I just made up four matching pieces of steel, drilled the proper sized holes in the ends of the shackles, welded in a strengthening piece of square tubing and bolted them to the frame and leaf springs. We simply supported the rear bumper with jackstands while we changed out the shackles.
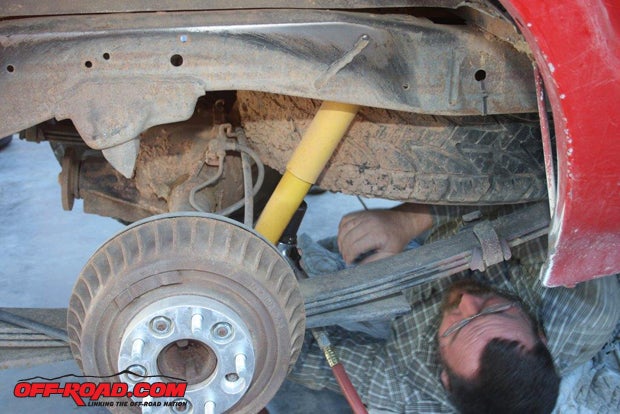
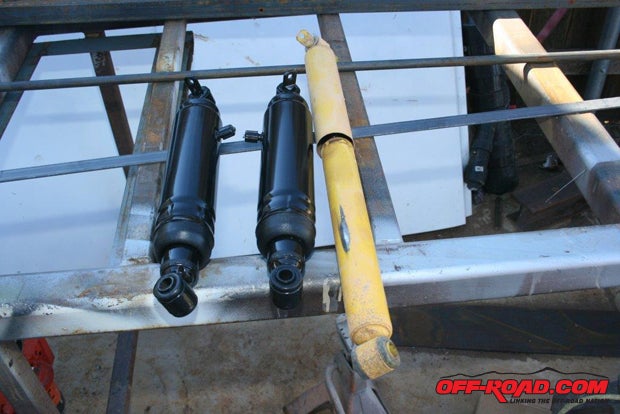
Next, the Monroe Max air shocks. This is another easy mod that just requires removing the old shocks’ mounting nuts and bolts and bolting the new shocks into place—easy peasy. However, we had to route the shocks’ air lines to the Schrader valves, which we located in the rear bumper. Since the trailer could be carrying the weight of a rooftop tent on high-speed highway runs and rough sometimes off-camber trails (not to mention quite a lot of weight in camping gear and supplies inside the trailer/cap combination), I wanted separate air lines for the air shocks.
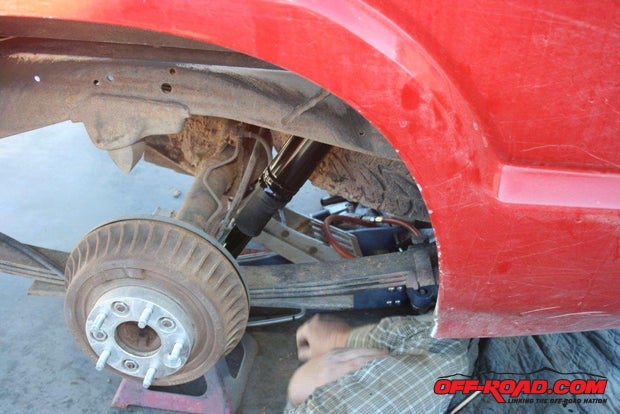
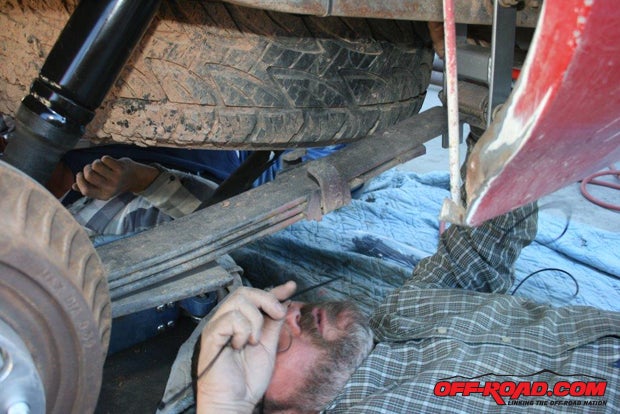
The usual installation uses one Schrader valve with a Y in the air lines to supply both shocks. This allows air transfer between the two shocks, which means the low-side shock could lose air to the high-side shock. This doesn’t usually matter on the pavement because the trailer doesn’t stay low on one side but will swing back and forth quickly according to road conditions.
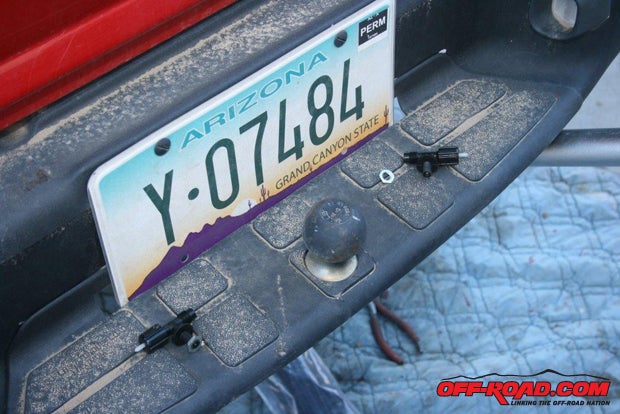
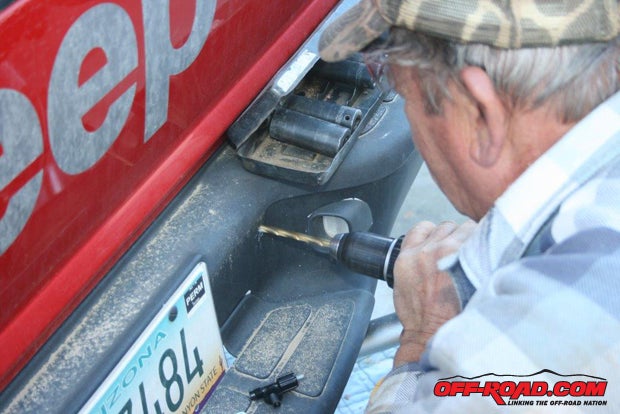
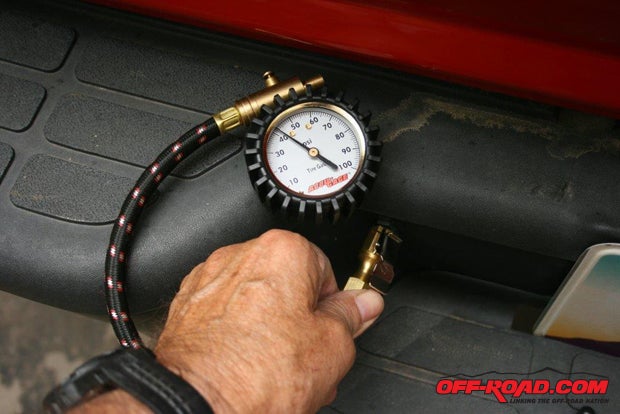
On the trail, however, the trailer could encounter an off-camber trail and be in that position for several minutes while the trail is negotiated, which could result in some tense moments, and even a tip over. Separate lines keep the air in the respective shocks, which means a much more stable trailer off the road.
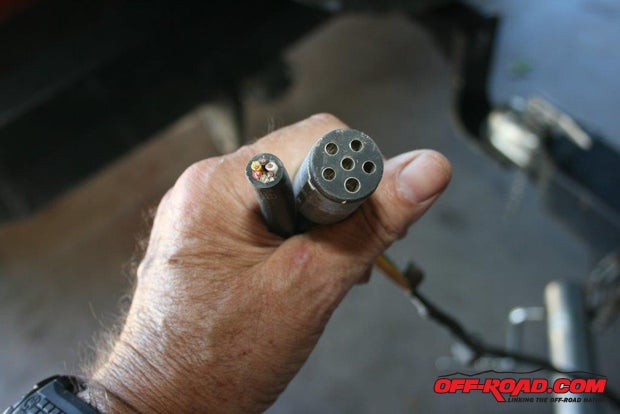
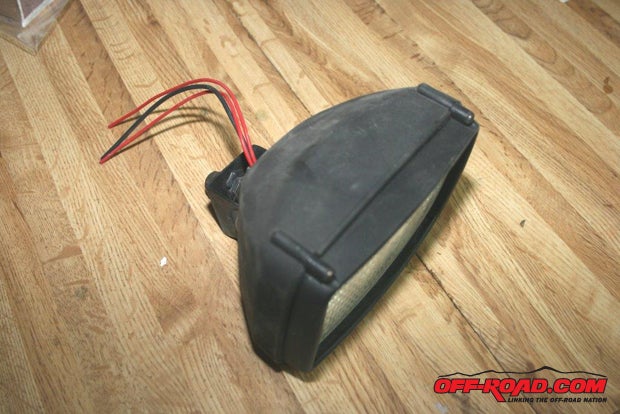
In order to add a battery, camping lights, and backup lights to the trailer, we needed new and additional cabling. Eventually, I may even be forced to the go to the larger RV-style seven-prong electrical connector; however, for now I’m sticking with the current six-prong connector shown in the photos.
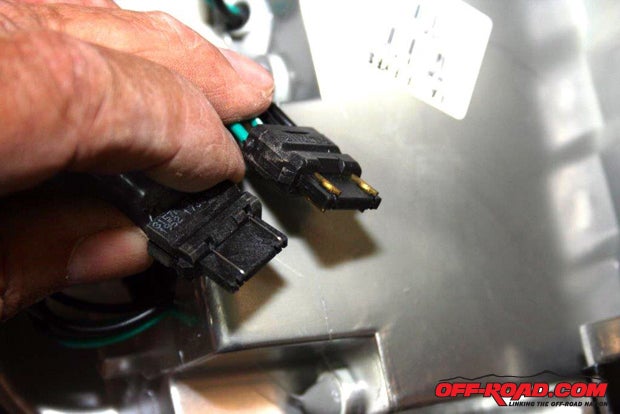
A little background may be educational right now. The common flat four-prong connector is the basic trailer plug. It allows for a ground, taillights, a right-turn signal, and a left-turn signal. The turn signals also provide the brake lights. Upgrade to a six-prong and you can add electric brake lines and a charging line for an onboard battery. If the trailer has no electric brakes, the backup lights or third brake light can be activated. A seven-prong can add another electrical option.
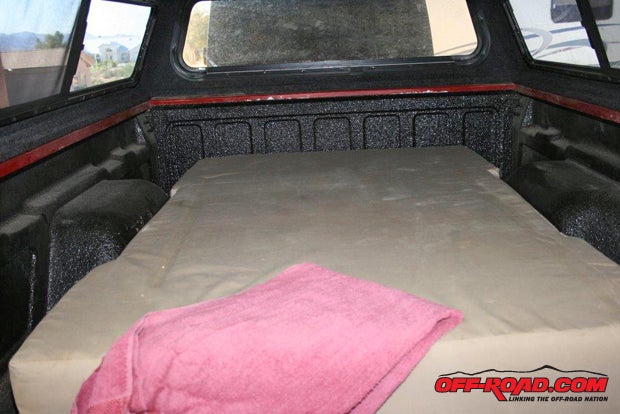
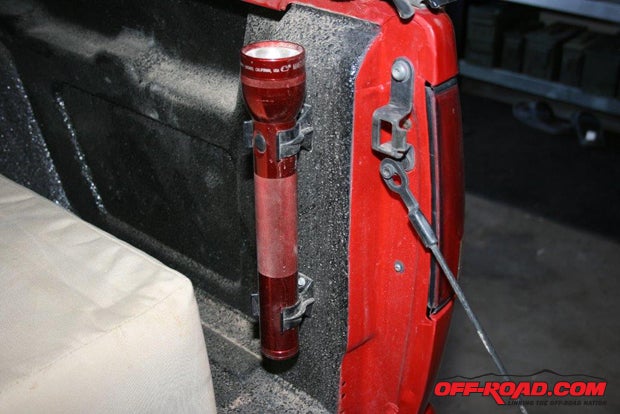
My wife and I had been using an inflatable mattress in the trailer with very uncomfortable results. The fender wells pushed the mattress inward from both sides and it almost like sleeping on a hammock. Next, we bought two thin mattresses from a thrift store that began life in pull-out sofa-beds. These were also pushed up by the fender wells so we took them to a boat upholsterer, who cut them into the roughly hour-glass shape you can see in the photos and made a zip-up mattress cover that keeps them together. We now have room and a super-comfortable mattress for those quick, last-minute overnight camping trips.
Source List:
Summit Racing
http://www.summitracing.com/


 Your Privacy Choices