Our last project, Big Bad Chevy, was finished and was a very capable off-road toy. However it was not ideal as a daily driver and we found it was being used quite infrequently. It was sold and the search began for something that we could use as a commuter vehicle as well as a weekend off-road toy. We decided on a Toyota Tacoma.
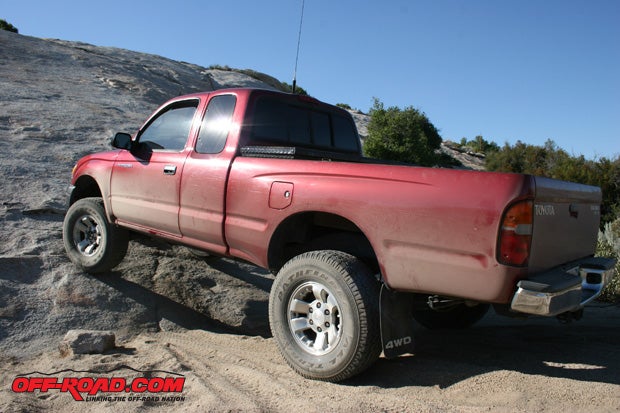
We found a well-used 2000 Tacoma 4x4 with a manual transmission for quite a bit less than the blue book value. It had close to 200K miles on it, numerous small dents and scratches, and needed basic maintenance and a thorough cleaning. It was mechanically sound and seemed like the perfect Toy for our needs.
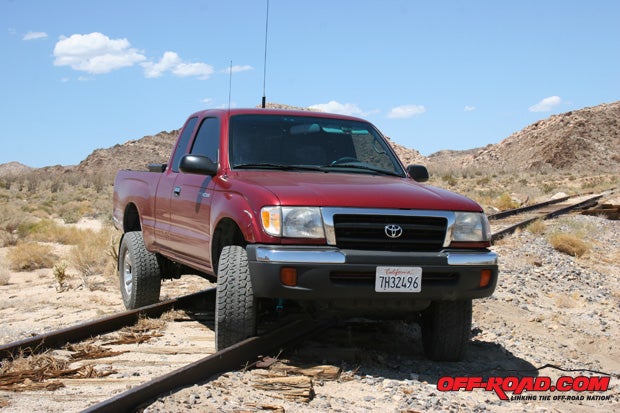
Once it was in the driveway, we checked the oil then headed to some local trails to see what it could do. It turned out to be a pretty capable off-road truck in stock form. This model Tacoma doesnt come with any type of rear locker and we found a couple spots where it would have eased our maneuvering in rough, high flex situations but, by being extra generous with the throttle we were able to power through the rough spots.

With our initial test complete, it was time for maintenance and cleaning. The first thing was a complete tune-up and new front brakes. The spark plugs were the worst we have ever seen. They looked like they had been coated in Line-X bed liner and a few of the electrodes looked like they had been filed to sharp points! We also found the air box inlet was cracked. All new fluids, filters, plugs, wires, and a used air box wielded us a much smoother running motor and a mileage increase from 14 to 18 mpg.
Next we had to give the Tacoma a much needed cleaning. The paint had been neglected for years and the interior had a mysterious odor and numerous stains. With many hours of work we got it looking and smelling much better.
The next order of business was suspension. Our stock shocks and springs we so soft that we found ourselves bottoming out while driving on the freeway. We started searching online for used parts for our new project. We found a set of King front coil-overs for less than half of the new cost, which we quickly bought. Not being able to find anything used for the rear end we opted to buy new Bilstein shocks and Deaver springs. While talking to the folks at Deaver they assured us that the rear springs would provide about 1.5 of lift. This would allow us to set the front coils in the middle of their lift range, which would still provide a plush ride on the road.
Once everything was installed we found the rear springs provided 3 of lift, which left our front end lower than the rear. A quick call to Deaver resulted in them standing behind their product 100 percent. They said to send the springs back to be re-arched and they would even pay the shipping! We decided itd be too much extra work to pull the springs off and be without a truck for a week or two. Our fix was to crank up the King coils to their upper limit to level out the truck, which resulted in a stiffer ride in the front but certainly not unbearable. The rear shocks and springs ride perfectly and flex well on the trail.

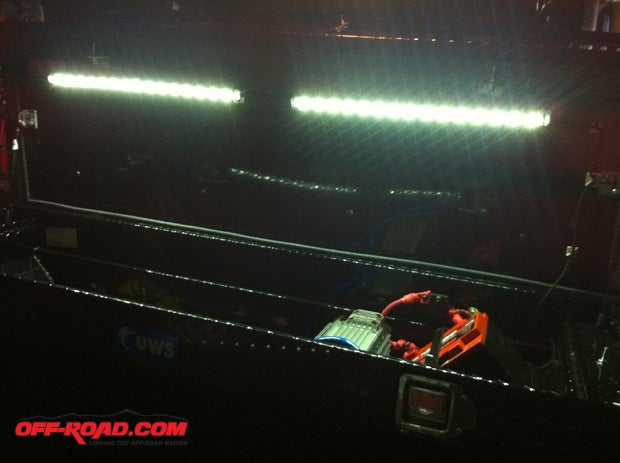
Now we needed a toolbox and some electronic goodies. We ordered an American-made UFS low-profile toolbox to be installed in the bed. Inside the toolbox we installed a Warn compressor, which we had left over from our previous Chevy project along with a second Odyssey battery. We used 2/0 cable along with two circuit breakers and a solenoid (to charge the second battery) and connected it all to our OEM battery. We also ran an 8G wire from the toolbox battery to a 10-position fuse block and into the cab under the passenger seat to power extra accessories.

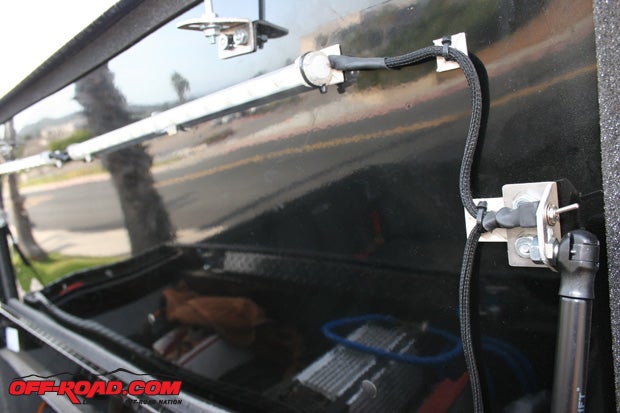
Instead of hard-mounting the fuse block we made it so it tucked under the seat and retained the ability to pull it from under the seat to inspect fuses without having to remove the seat. We found a slight twist to the cables connected to the fuse block prevented the box from flopping around under the seat.
. They allow us to see in the toolbox as well as the bed of the truck at night.")


Next was a new sound system. We didnt need anything but just something much better than the OEM sound system. We purchased a new Alpine head unit with built-in Bluetooth and an iPod connection along with four new speakers. Once installed it sounded pretty good but we still wanted more. We found a used amp online and had a pair of well used 8 cheap sub-woofers lying around from a previous project. These resulted in a much better sounding system. We even went as far as to add in a way to power the sound system from the 2nd battery via a relay and switch. Under day-to-day use the system is powered like any OEM system, from the ignition. If we are parked and want to listen to music and not worry about draining the OEM battery, we simply press the glovebox-mounted switch and the entire system is powered from the second battery.
We topped off our electronic gadgets with the addition of a CB and a roof-mounted LED light bar, both powered from the second fuse block. The CB fit perfectly where the ashtray was located. We ran the antenna cable under the carpet into the rear of the cab under the rear seat storage area. When the CB is not being used we can tuck the antenna and cable in the storage area and when in-use we pass the cable through the rear sliding window and up to the roof.
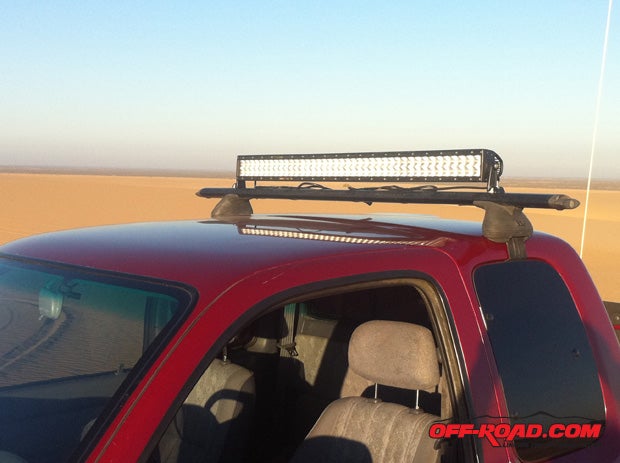
For nighttime excursions we needed some type of auxiliary lighting. We already had a 40 Rigid LED light bar that would be just right if we could mount it on the roof. Not wanting anything permanently mounted on the roof, we found a used set of clamp-on roof racks. We were able to easily mount our light bar to one of the roof racks and clamp it to the roof. To power the LED light bar we again used our second fuse block. We installed wire from the fuse block, under the carpet to a hidden switch located near the center console of the truck, and from the switch cable it was run to under the rear seat storage area. When in use the cable is long enough to pass through the rear-sliding window up to the LED light bar.

With less than $10K invested in our daily driver/ weekend toy we are pretty pleased with its performance. In low-range it will crawl over decent-sized obstacles and uneven terrain. With its previously installed dents and scratches, brushing up against rocks and bushes we may encounter on the trail or a carelessly flung open door while crawling the mall parking lot doesnt bother us at all. For its daily driven duties, it has proven to be reliable, comfortable to drive, and gets decent gas mileage. Stay tuned for future upgrades!
|
Off-Road.com Newsletter Join our Weekly Newsletter to get the latest off-road news, reviews, events, and alerts! |
Follow @Off-Road
 Your Privacy Choices